NotesnookHELP
Tables

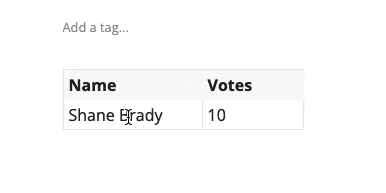
Tables in Notesnook provide all the basic to advanced functionality. On the left side are the Row properties and Insert a new row buttons while on top of the table are Table properties and Insert a new column buttons.
The first row of a table is always a header however you can always delete this row.
Insert a table
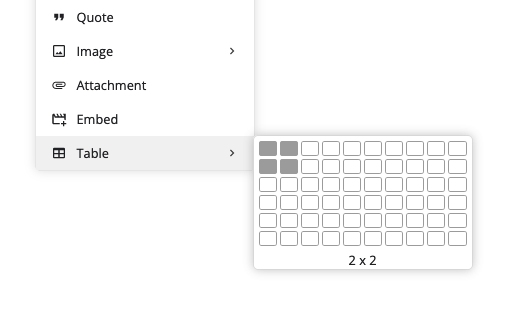
- Click on the
 and select the table block.
 - Select the size of the table grid.
Resizing table columns
Table columns on desktop and web apps are resizable.
- Hover on the seperator between two columns, it will turn green
- Click and hold the move to resize the column

Table column resizing is not supported on mobile editor yet.
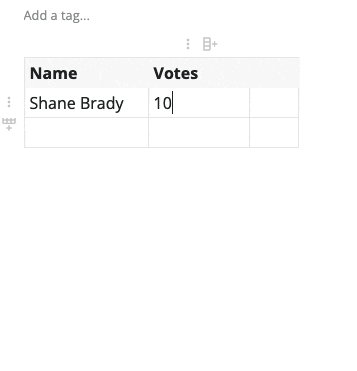
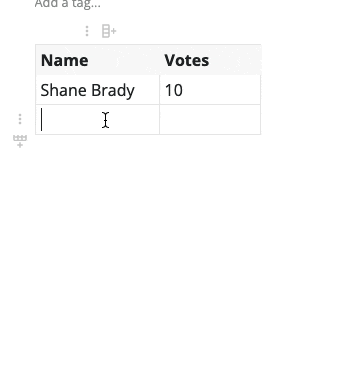
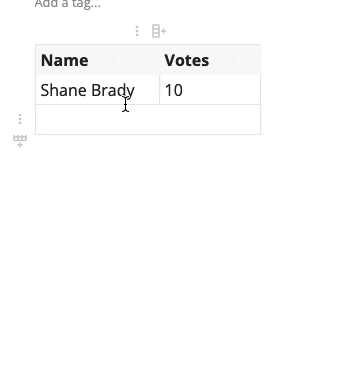
Insert a row
- Click on a cell below which you want to insert a new row.
- Click on the
Insert row belowbutton to insert a new row.
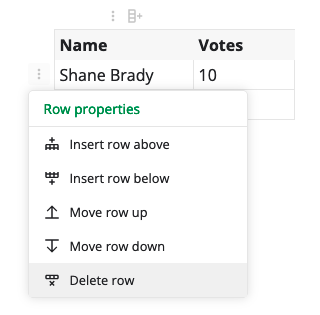
Delete a row
- Click on the cell of the row you want to delete
- Click on the cell properties button and select
Delete row
Move row
- Click on the cell of the row you move.
- Click on the cell properties button and select
Move row upto move the row up orMove row downto move the row down.

Insert a column
- Click on a cell after which you want to insert a new column.
- Click on the
Insert column rightbutton to insert a new column.
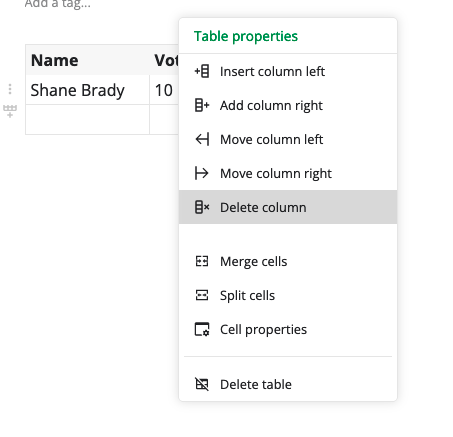
Delete a column
- Click on the cell of the column you want to delete
- Click on the table properties button and select
Delete column
Move column
- Click on the cell of the column you move.
- Click on the table properties button on top and select
Move column rightto move the column right orMove column leftto move the column right.
Merge cells
- Drag and select the cells you want to merge
- Click on table properties on top of table and select
Merge cells
Split cells
- Double click to select the cell you want to split
- Click on table properties on top of table and select
Split cells
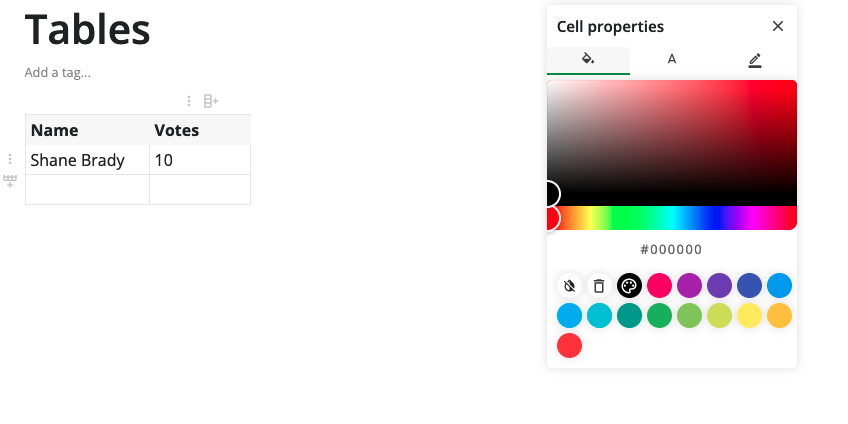
Cell Properties
- Select the cell you want to customize
- Click on table properties button on top
- Select Cell properties
- You can now change cell background, text color and border color.
Delete table
- Select the table
- Click on table properties button top.
- Select
Delete tablefrom drop down menu
