NotesnookHELP
Create a theme with the Theme Builder
The Theme Builder provides an easy and accessible way to create themes for Notesnook without prior technical knowledge. The purpose of this tool is to allow anyone, especially a layman, to tweak Notesnook according to their liking.
You can access the Theme Builder at https://theme-builder.notesnook.com.
The Theme Builder is the exact duplicate of the Notesnook Web application — just with the option to tweak the colors. You can use it to sign into your account, create notes, and everything else you do in the Notesnook app.
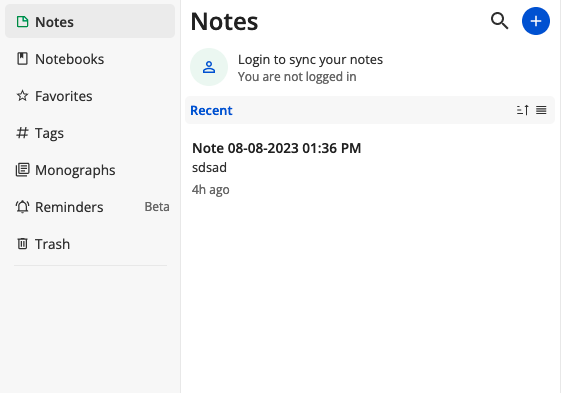
Here’s a look at the theme builder:
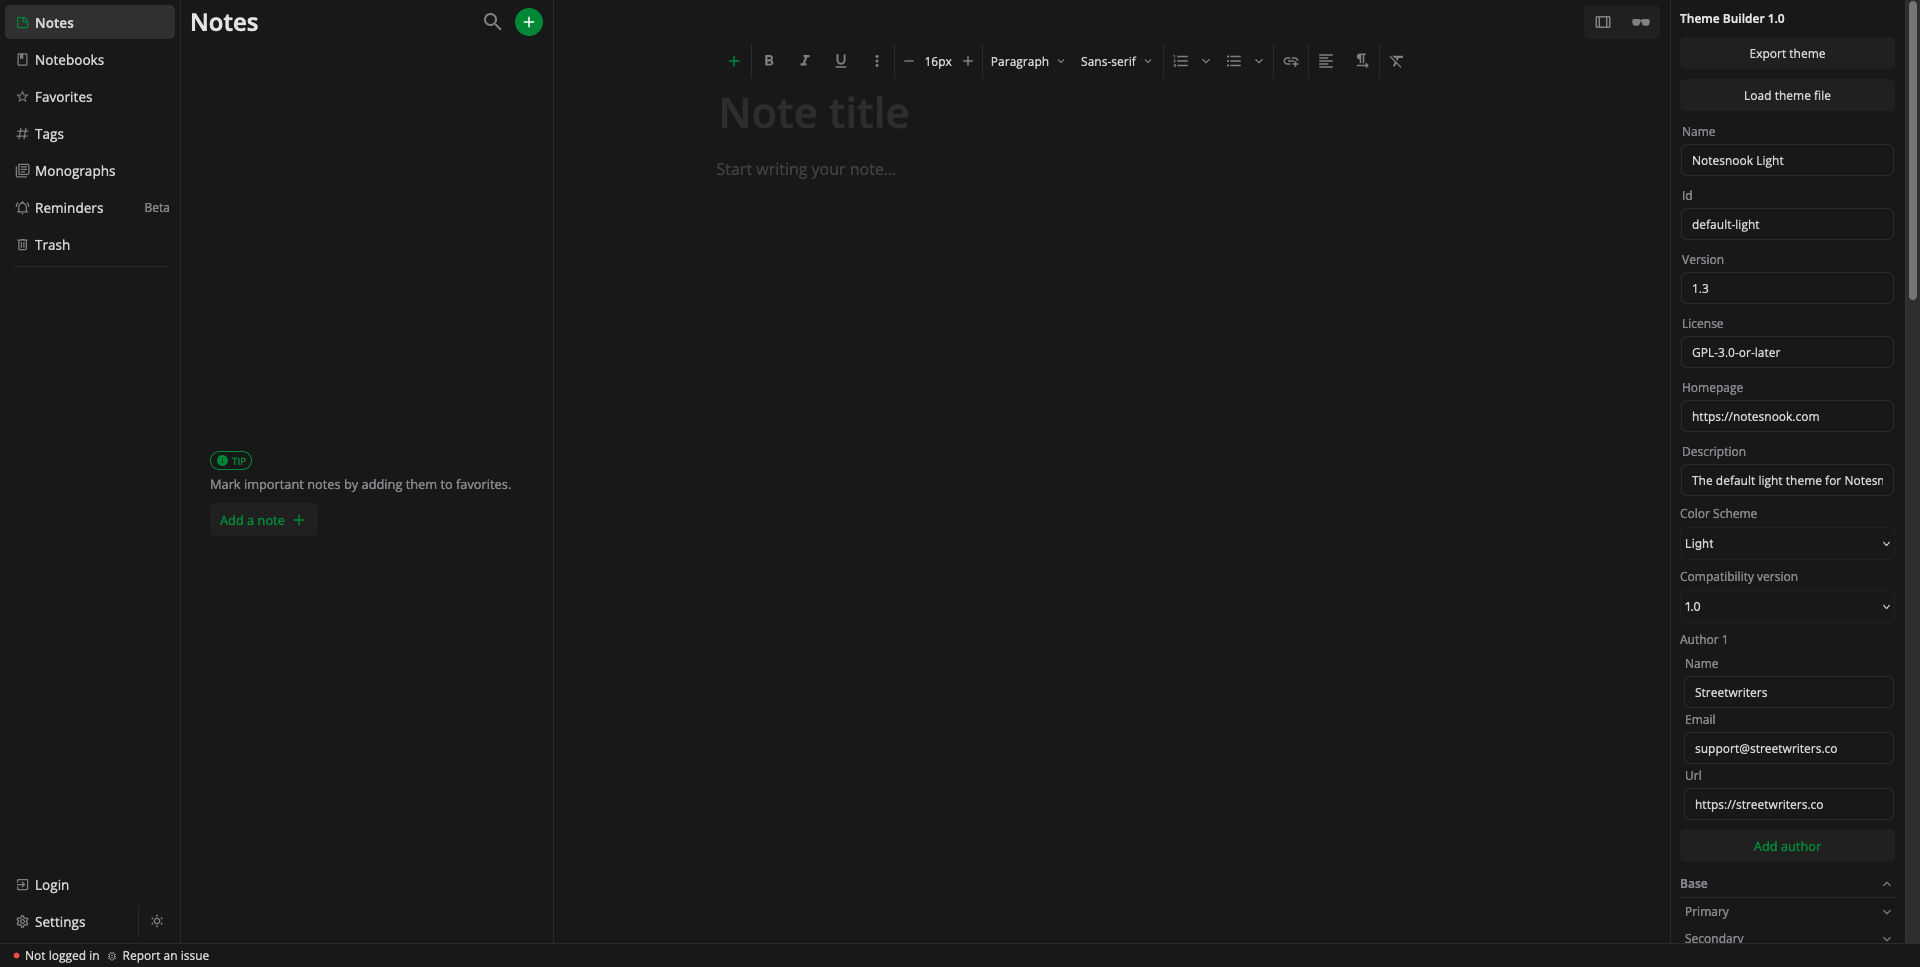
Now let’s walk through the whole process of creating your own theme using the Theme Builder.
1. Select a starter theme
Before you can create your own theme, it is best to select a starter theme to build upon. This allows us to quickly visualize all the changes without have to build from scratch.
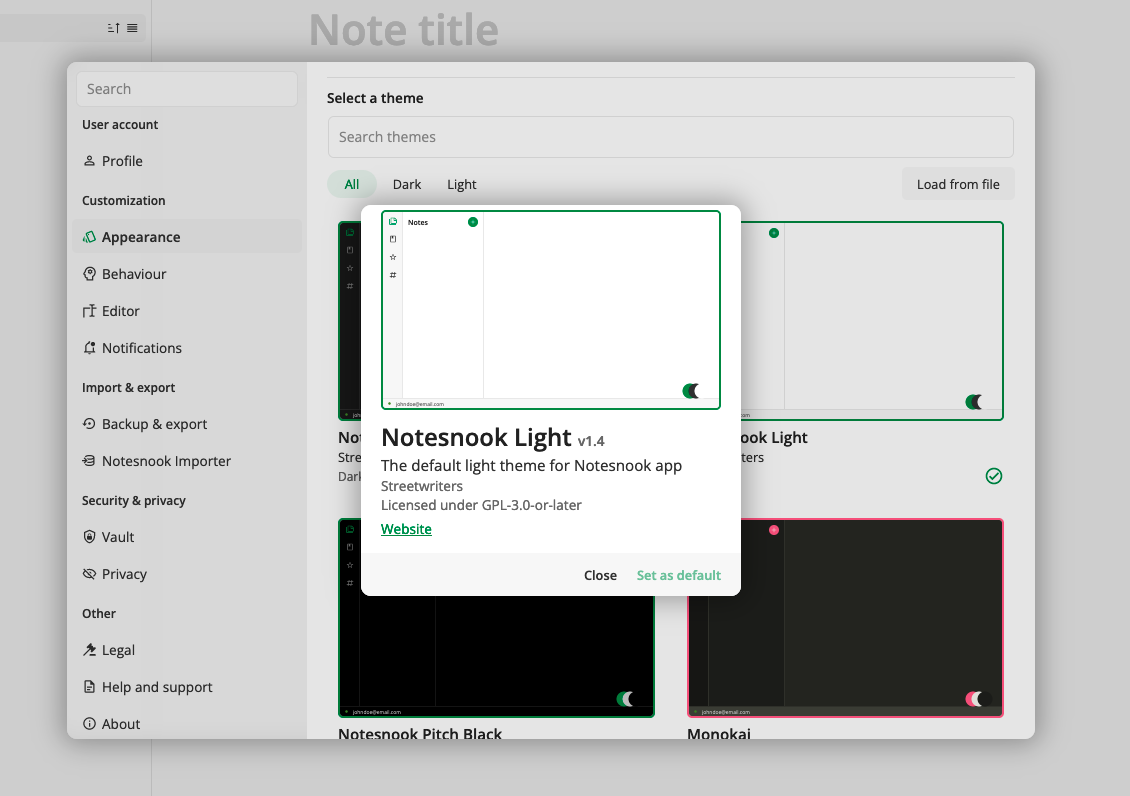
The Theme Builder makes this very easy:
- Open the Theme Builder.
- Go to
Settings > Appearance > Themesand select any theme from the list.
Keep in mind that a theme can only have one color scheme: light or dark so choose your starter theme accordingly.
For our example, we are going to select “Notesnook Light” as our base theme.
Once the theme is applied, you’ll notice all the colors in the Theme Builder update with the colors of the Notesnook Light theme.
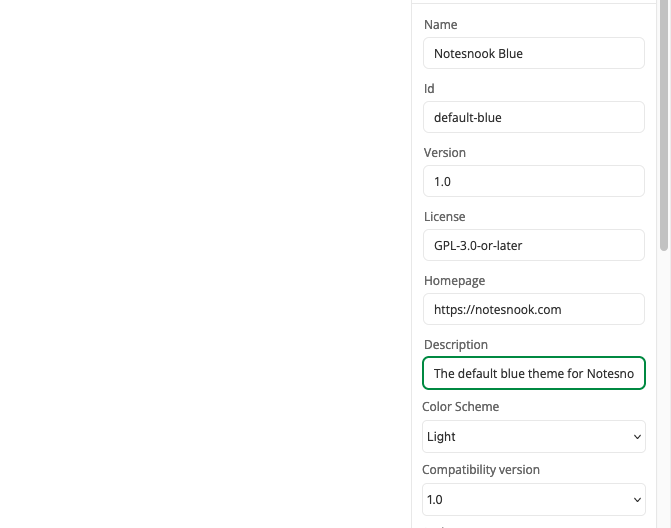
2. Setting theme metadata
Theme metadata allows better discoverability in search and gives users a quick idea of what the theme is. You can read about all the supported properties here.
Theme ID conflicts
Remember that the id for your custom theme should not conflict with other published themes on Notesnook. You can see the list of all published theme IDs here.
3. Configuring base theme scope
Before you proceed, it is recommended that you learn about how theming in Notesnook works, what scopes, variants & colors do etc.
Every Notesnook theme must implement the base theme scope. Colors from the base theme scope are used as a fallback in all other scopes if a specific color is not defined.

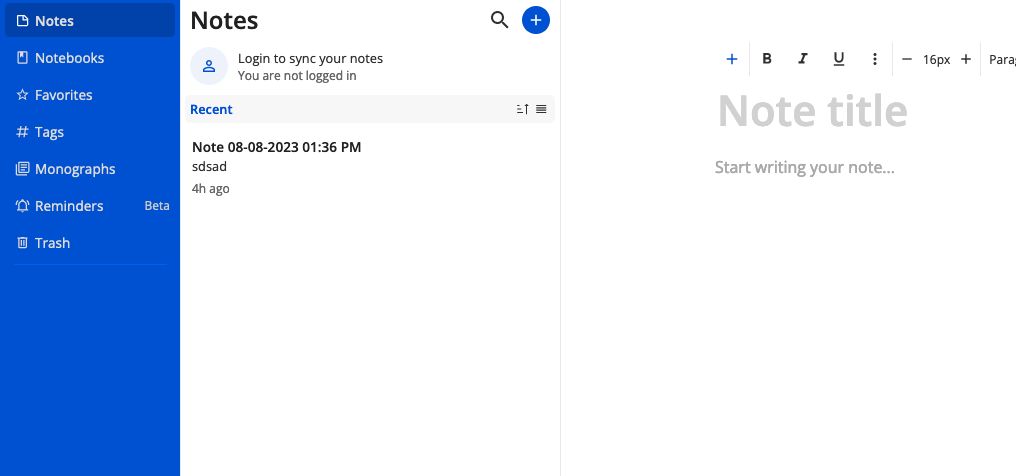
For our example, we will be creating a Blue accented theme for Notesnook. In order to do that, we must replace all the occurences of the default green color (#008837) in the base theme scope with a nice blue color (#1d4ed8).
Since we want to create a blue variant of our Notesnook light theme, we will replace the default green (#008837) in our base theme scope with blue(#1d4ed8). We have to go through all variants, primary, secondary, selected, disabled and replace the colors.
As you change each color, you will see the changes reflected in the app in real-time. How cool is that!
4. Configuring optional scopes
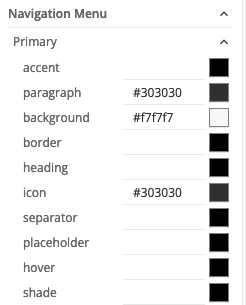
After configuring base theme scope, you can optionally set colors for other scopes, such as navigationMenu, to make them look a little different.
An example
For example, in the default Notesnook Light theme, the background color of the navigation menu is grayish instead of pure white.
This is because the default Notesnook Light theme has a different background color set for the navigationMenu scope.
The sky is the limit here. In most cases, though, the base scope will suffice unless you want to get super creative like me.
And that’s it! Your theme is ready to be exported.
5. Exporting your theme
Once you have finished working on your theme, you can export it by clicking the “Export theme” button at the top of Theme Builder pane.
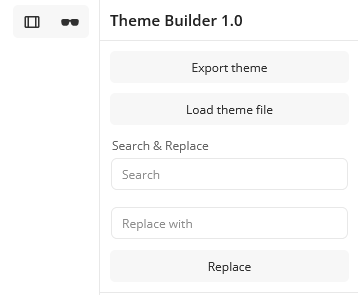
You will get a JSON file containing your theme which you can either install directly into the Notesnook app for personal use or publish it for others to use as well.